StylishInteriorDecor
Acoustic Wall & Ceiling Panels - 3D Fluted - Sound Absorbing - Home Office Collection
Acoustic Wall & Ceiling Panels - 3D Fluted - Sound Absorbing - Home Office Collection
Couldn't load pickup availability
Specifications
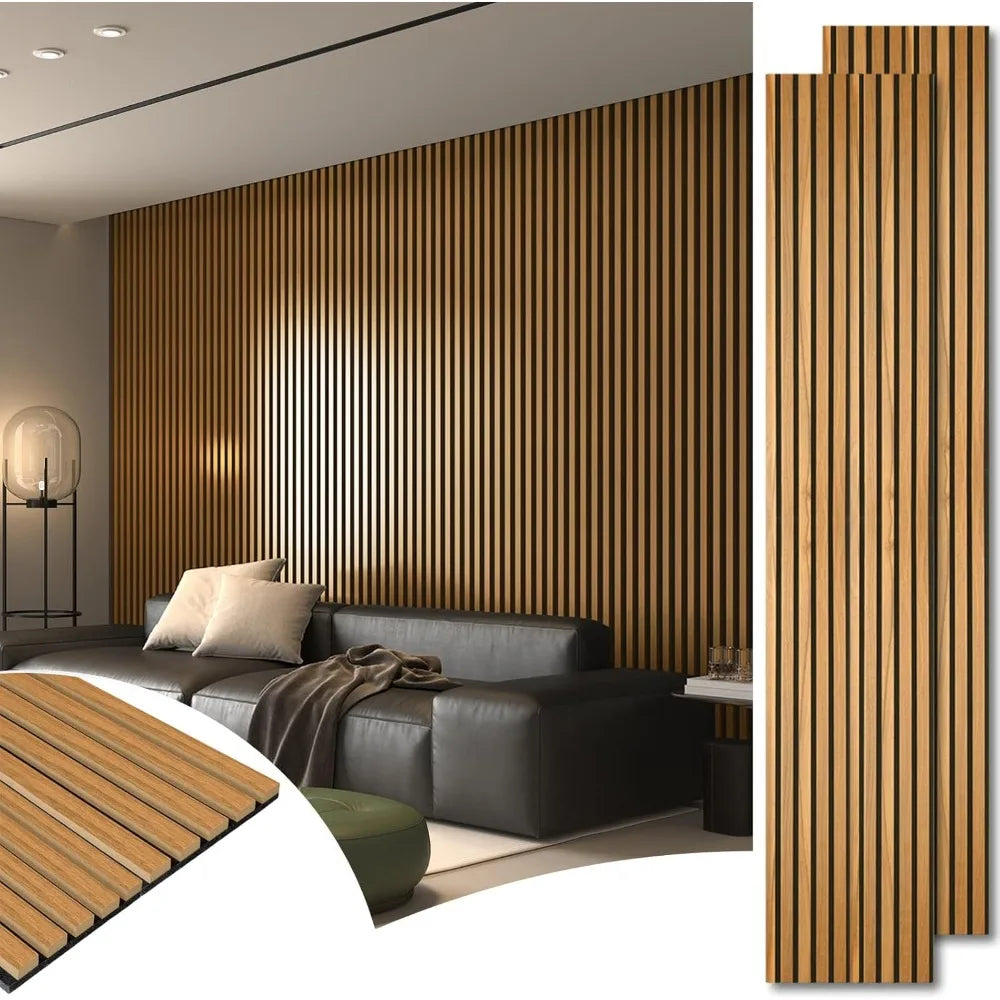
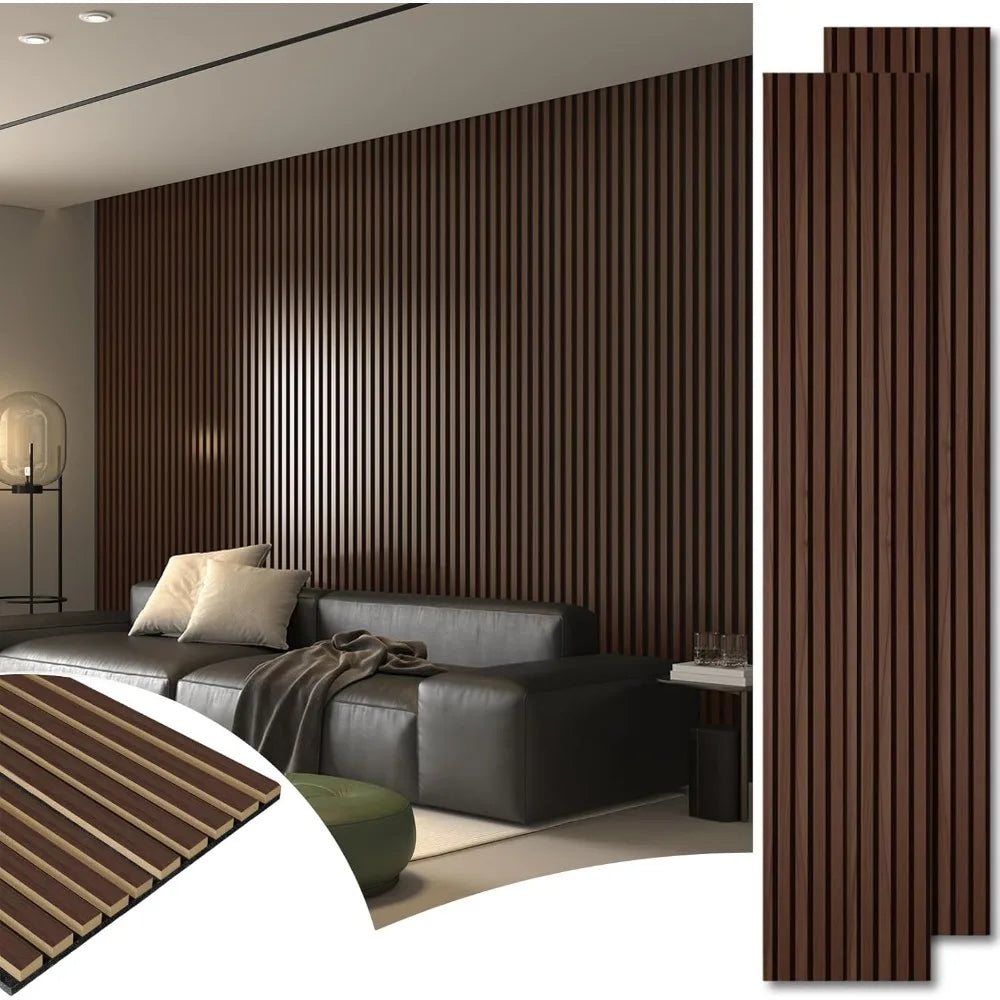
2pcs-104" x 15.75" inches Slat Acoustic Panels for Wall and Ceiling, 3D Fluted Sound Absorbing Panel with Wood Finish
Item Weight: 17.64 pounds
Material: Wood
Product Dimensions: 104 x 15.75 x 0.83 inches
Scenarios: Home Theater, Home Study, Home Office, Dormitory, Finished Basements, Redecorating, Home Improvement
Wall Style: Modern Style
About this item
Pack Size: Comes in a Pack of two 104"x15.75" in. fluted panels, which can covers about 22.7 sq.ft. It's suggested ordering a sample pack first to select the desired finish for your project prior to placing the final order.
Aesthetically Pleasing: It is not only functional but also visually appealing. The wooden slats create a natural and warm appearance, adding a touch of elegance and sophistication to any room.
Easy to Install: Installing is quick and easy. The panel can be mounted on walls and ceilings with basic tools in short amount of time.
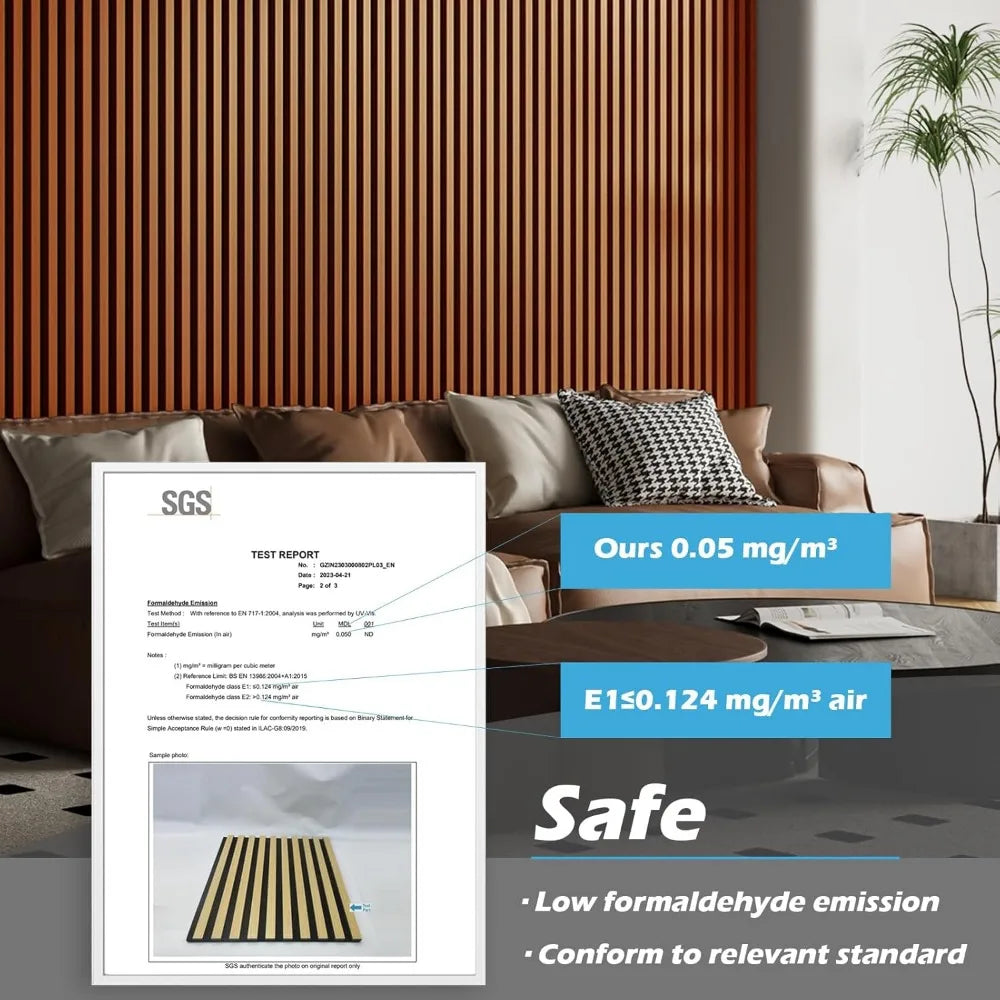
Safe and eco friendly: Made of quality MDF with high density polyester fiber, no harmful chemical emissions and low TVOC levels.
Superior Acoustic Performance: It is designed to provide excellent noise-cancellation capabilities, making it ideal for use in homes, offices, studios, and other spaces where acoustic quality is a priority.
Pkg Acoustic Panel Set *2Pcs
Decor Tips & Ideas
Using self-adhesive acoustic panels is easy and requires minimal tools. Here’s a step-by-step guide to help you install them properly:
Step 1: Plan Your Layout
Decide where you want the panels to go.
Arrange them on the floor first to test different patterns or designs.
Mark the wall lightly with a pencil if needed.
Step 2: Prepare the Wall
Clean the wall surface with a dry cloth to remove dust and debris.
For best adhesion, make sure the wall is smooth, dry, and free of grease or moisture.
Step 3: Peel & Stick
Remove the backing from the self-adhesive side of the panel.
Start from one corner and carefully press the panel firmly onto the wall.
Smooth it out with your hands or a roller to avoid air bubbles.
Step 4: Align & Adjust
If installing multiple panels, ensure they are evenly spaced and aligned properly.
Use a level or ruler to keep them straight.
Step 5: Secure (If Needed)
If you’re placing them on a textured wall, consider using extra adhesive (spray adhesive, double-sided mounting tape, or nails for extra hold).
Step 6: Enjoy the Benefits!
Once installed, you’ll notice improved sound quality, reduced echo, and a stylish upgrade to your space.
Share


